.png)
How to train YOLOV7 on Personal Protective Equipment Data?

Pre-Requisites:
CUDA 10.x/11.x need to be installed on your Linux/Windows System (if you are not usingGoogle Colab)
Git need to be installed on your Linux/Windows System.
Introduction
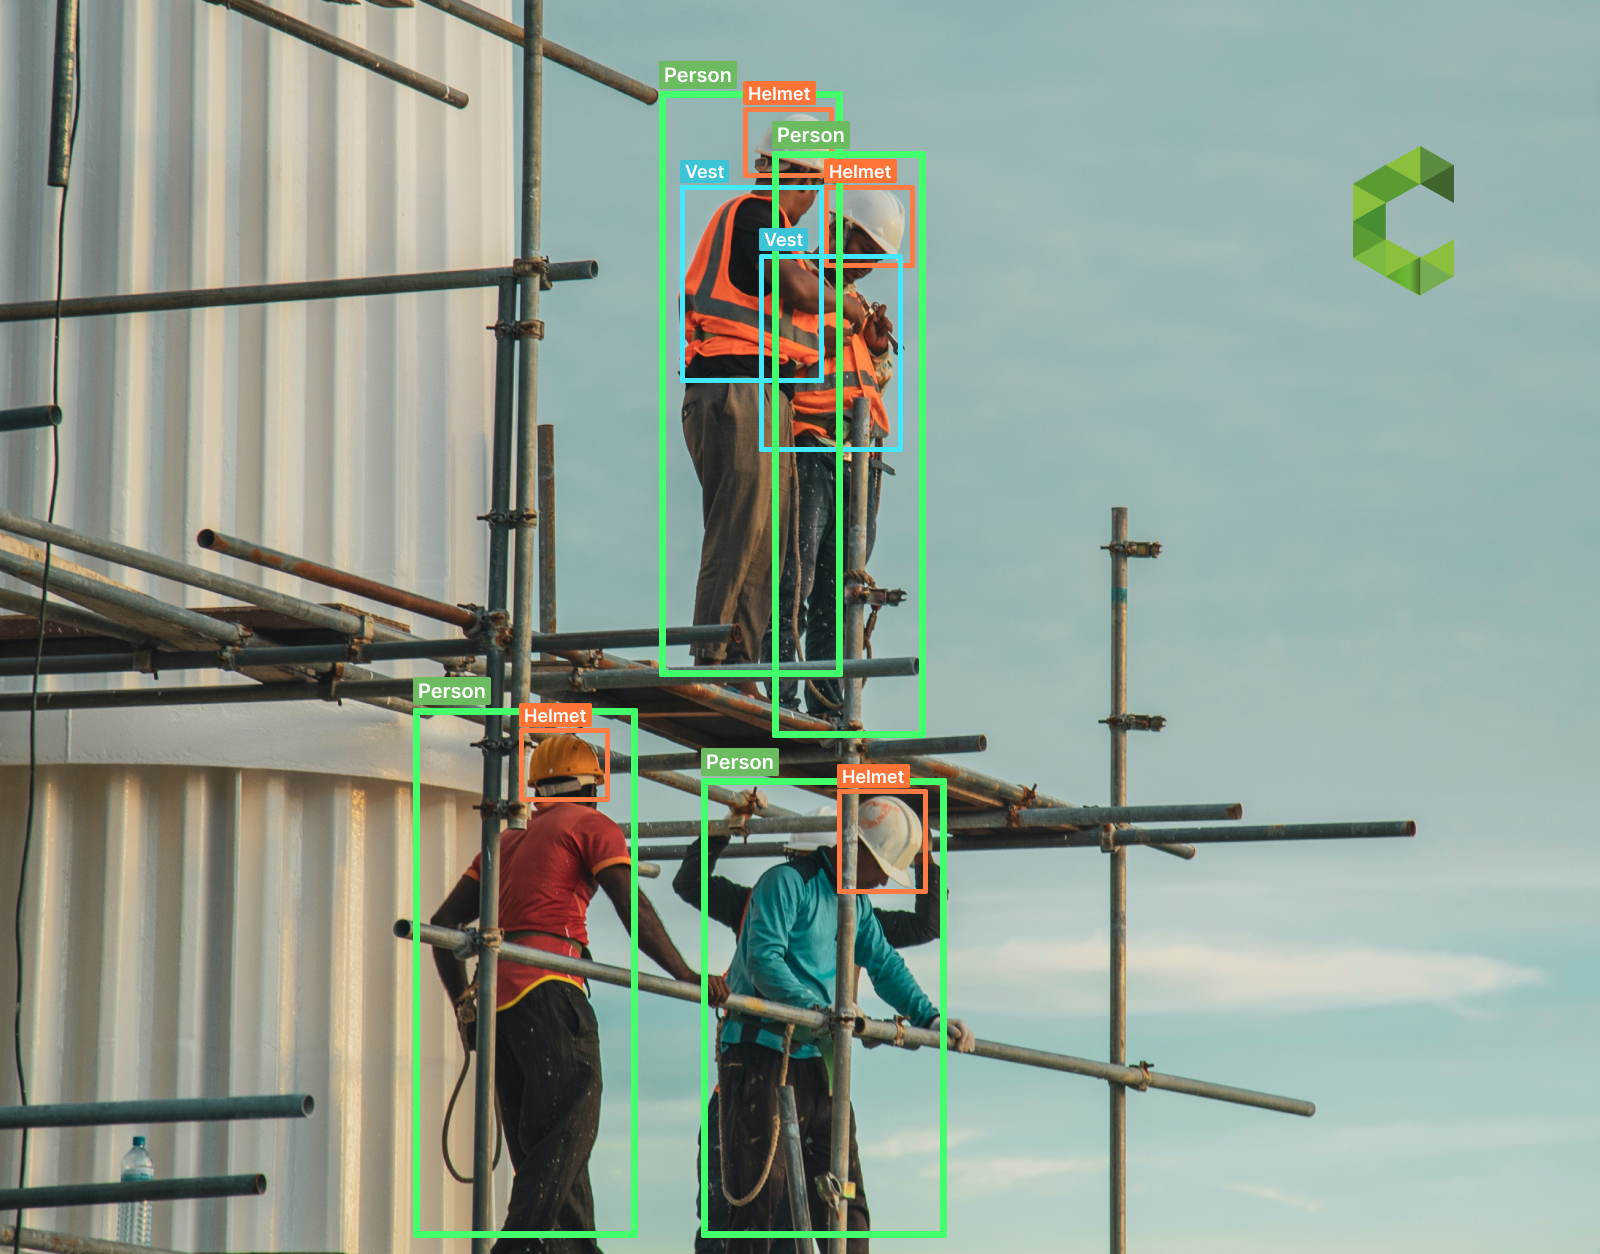
Personal Protective Equipment as the name suggests, "The equipment that is used for personal safety, that can be for construction site workers, office workers, etc." is a crucial and common use case among other computer vision use cases.

In this article, you will learn how to train the YOLOv7 algorithm on custom (Personal protective equipment) data to detect the protective-equipment of construction workers. The dataset has been collected from different YouTube videos and labeled using the labelImg software.
So let's start; the steps this article covers are mentioned below:
1. Clone the YOLOv7 repository from GitHub
2. Install the packages that are needed to run YOLOv7.
3. Pre-trained object detection.
4. Set up the dataset folder.
5. Creation of configuration file.
6. Training on Personal Protective Equipment Data.
7. PPE Detection on Custom trained weights.
Try analyzing objects using YOLOv7 with Cameralyze.
Clone YOLOv7 repository from GitHub
Create a folder named “YOLOv7-Personal-Protective-Equipment”. Open the terminal/(Command Prompt) in that folder. Clone the YOLOv7 repository from the link or with the mentioned command below.
.png)
Move to the cloned folder and upgrade pip using mentioned commands below.
.png)
Install the packages that needed to run YOLOv7
Now, it’s time to install the python packages, which will help you to run YOLOv7 code easily without throwing module errors. Use the mentioned command below to install packages.
.png)
If you are a linux user, make sure to install some extra module using mentioned command below.
.png)
Pre-trained Object Detection
All packages are installed now. You can test detection with pre-trained weights to confirm that all modules work fine. Use the mentioned command in terminal/ (Command Prompt) to detect objects with the pre-trained weights. Download the pre-trained weights file from the link and move the downloaded weights to the “YOLOv7-Personal-Protective-Equipment” folder.
.png)
If everything will work fine, then you will be able to get results in the directory path as mentioned below.
Results Directory: [yolov7/runs/detect/exp/cameralyzetest.jpg]
.png)
Set up Dataset folder
If you already have your dataset for Personal protective equipment, then you can use that but make sure that you have labeled data in YOLO format. You can get a dataset from the link if you don’t have a dataset.
Once you download the dataset, create a folder named “PPEData” inside the “YOLOv7- Personal-Protective-Equipment/yolov7/data” folder.
Move the downloaded dataset to the above-created folder {YOLOv7-Personal-ProtectiveEquipment/yolov7/data/PPEData} by following the mentioned structure below.
➔ yolov7/data/PPEData
➔ train
➔ images
➔ labels
➔ test
➔ images
➔ labels
➔ valid
➔ images
➔ labels
Creation of Configuration file
Create file having filename “PPE. yaml”, inside (yolov7/data) folder. paste the mentioned code lines below in that file.
.png)
Training on Personal Protective Equipment Data
All your preprocessing and configuration steps are completed. Now you can run the mentioned command below in (terminal/Command Prompt) to start training on Personal ProtectiveEquipment data.Note: Make sure that your terminal/Command Prompt path is set to the “YOLOv7-PersonalProtective-Equipment/yolov7” folder.
Window Users
.png)
Linux Users
.png)
PPE Detection on Custom trained weights
Once training will finish, you can run the mentioned command below to detect personal equipment’s parts on custom video.
.png)
Results Directory: [yolov7/runs/detect/ PPEDetection]
See Output Video


